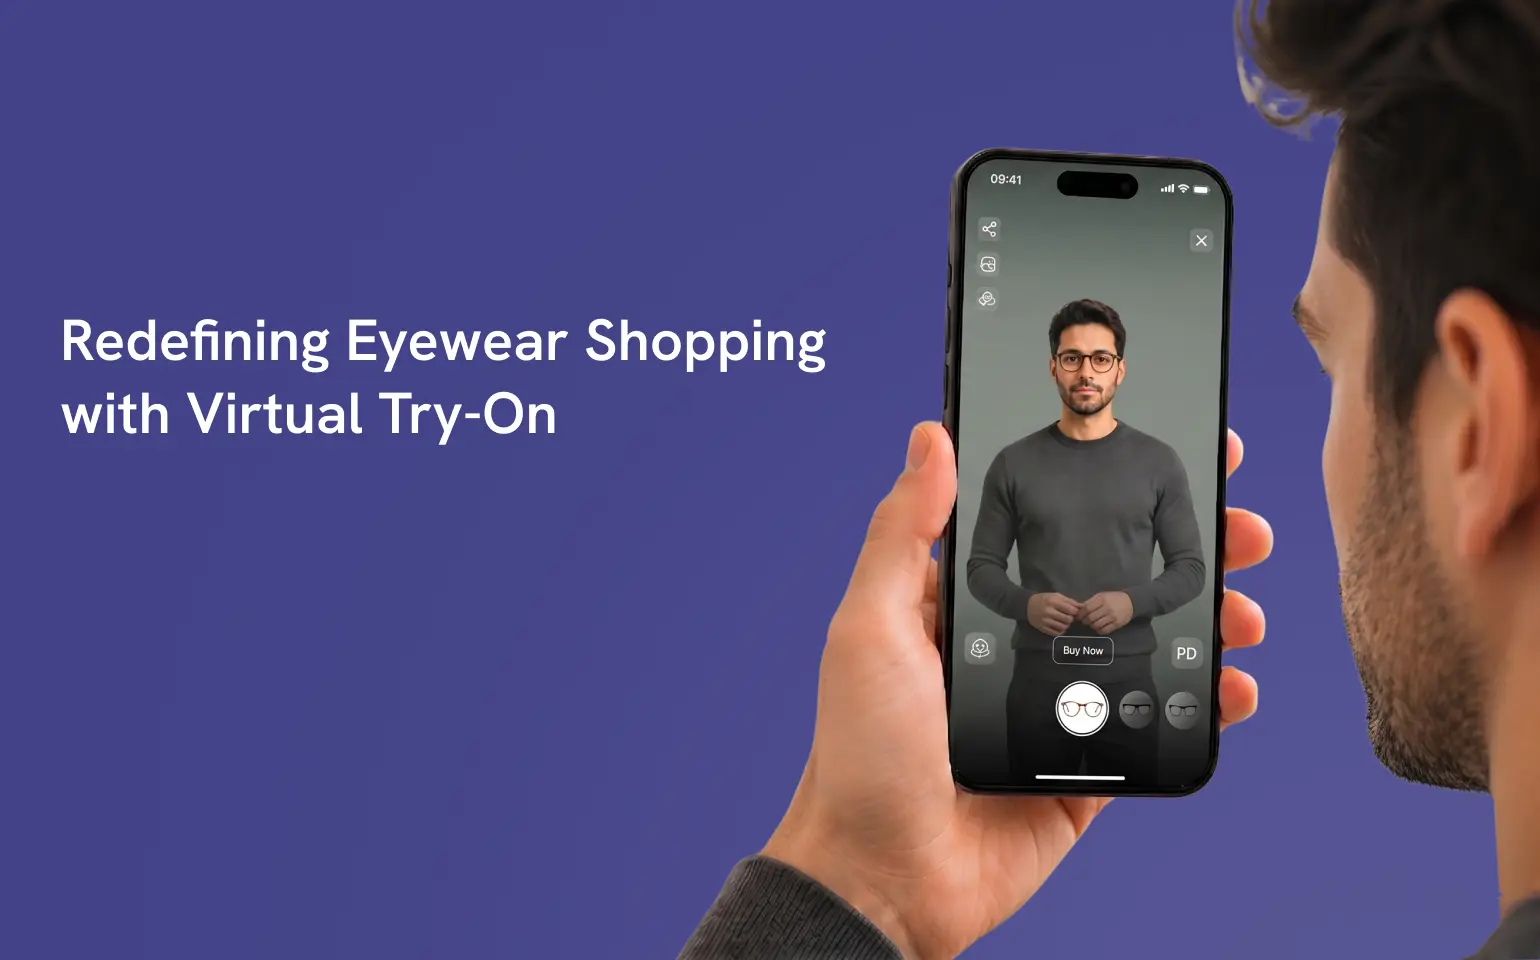
A shopper adds a pair of frames to their cart, hesitates, and closes the tab, because they have no idea how the glasses will actually look on their face. That’s the eyewear return problem in one sentence, and it’s exactly what Virtual Try-On is built to fix.
The part most store owners get wrong is assuming setup means weeks of developer time. It doesn’t. With Camweara, eyewear products are configured right inside the dashboard, in a handful of clear stages, no code required. Running standard product photos? There’s a 2D workflow for that. Working with 3D models? There’s a separate path built specifically for them, so you’re not forcing your assets into the wrong pipeline.
This guide covers the full setup from start to finish, including how to configure your eyewear products and what shoppers see once the experience goes live. Want to see how Virtual Try-On works for eyewear? Explore Camweara’s Eyewear Virtual Try-On.
Before you begin, make sure you’ve got access to the Camweara dashboard and the eyewear products you want to set up.
Depending on your needs you’ll need:
There are various software for 3D modeling like Meshy.ai and Tripo3d.ai platforms.
When your assets are prepared you can start configuring your products.
After logging into your Camweara account, open the Upload section from the left-hand navigation. This is where you’ll add new products and prepare them for Virtual Try-On.
At the top of the Upload page, choose Eyeglasses from the category dropdown. Then select whether you want to configure the product in 2D or 3D.
Camweara supports both 2D and 3D Virtual Try-On. Choose the workflow that matches the assets you have.
Select the 2D option and open Magic Editor. Upload the two required eyewear images. For recommended image angles, refer to Camweara’s eyewear image specifications→
Once the images are uploaded, use the configuration screen to adjust the frame and lenses on the preview. After positioning the eyewear correctly, go to Edit and add the Frame Width. This enables the PD feature, which automatically fits the eyewear according to face size. Then save the product.
If you’re setting up a 3D Virtual Try-On, switch to the 3D tab. Upload the product thumbnail and the required 3D glb file, then use the available tools to position the glasses on the preview model. Once you’re satisfied with the alignment, save the configuration.
After saving, the eyewear product is stored in your Camweara dashboard with its Virtual Try-On configuration.
Setup of the Virtual Try-On is only the first step. After configuring the product the Virtual Try-On becomes available on your product page, allowing your customers to try different frames before buying. Instead of looking at static product images, customers can better imagine how the eyewear will look on him. It will allow customers to browse with more confidence.
It does not matter whether you configure your products using 2D assets, 3D models or even both – the task remains the same – making it easier for your customers to interact with your products.
Camweara is on a mission to reduce guesswork in online shopping and save billions of retailers & shoppers time and money.
We use minimal cookies to improve your experience. Privacy policy