Augmented Reality, Fashion, Virtual Try-On
Ways to make 3D model for Augmented Reality
- By Camweara team
- No Comments
29 Oct

Creating 3D models for AR (Augmented Reality) involves several stages, from design to optimization for smooth performance on various devices. Here are key steps and tools commonly used for creating AR-ready 3D models:
1. Concept and Design
Sketch: Start by creating concept sketches or blueprints of the object or scene you want to model.
References: Gather real-world reference images or measurements to guide the modeling process
2. 3D Modeling
Software Tools: Use 3D modeling software to create the basic shape of your object. Some popular options include:
Blender (Free) – Open-source software for 3D modeling, animation, and texturing.
Autodesk Maya (Paid) – Professional-grade software used for creating high-quality 3D models
Ways to Make 3D Models for AR: A Comprehensive Guide
Augmented Reality (AR) is revolutionizing industries by blending the digital and physical worlds, creating immersive experiences across platforms. Whether it’s trying on clothes virtually, visualizing furniture in your living room, or interacting with digital characters, AR relies heavily on high-quality 3D models. If you’re looking to create your own 3D models for AR, there are a few essential steps and tools to understand. Here’s a detailed guide on the process:
1. Conceptualizing Your 3D Model
Before jumping into software, the first step is conceptualization. Think about the object you’re going to create and how users will interact with it. Ask yourself:
- What is the purpose of the model in the AR experience?
- Will it need to be animated or remain static?
- What level of detail is required for it to look realistic in AR?
2. Selecting the Right Software Tools
The choice of software for creating your 3D model depends on the complexity and quality you need, as well as your budget. Here are some popular tools:
Blender (Free)
Blender is a versatile, open-source 3D modeling tool. It’s packed with features for modeling, texturing, and animating your objects. Although it has a steep learning curve, the community support and vast array of tutorials make it an excellent option for beginners and professionals alike
Autodesk Maya (Paid)
Maya is a professional-grade software known for its powerful 3D modeling, animation, and rendering capabilities. It’s widely used in film, games, and AR development. Maya is especially useful if you’re working on high-end AR applications, such as in gaming or architectural visualization.
Cinema 4D (Paid)
Cinema 4D is another high-quality 3D software used in motion graphics and animation. Its user-friendly interface makes it a go-to for designers who need high-quality visuals without an intense learning curve.
ZBrush (Paid)
For intricate and detailed 3D models, ZBrush is one of the best tools for sculpting. It’s widely used for creating organic models like characters, animals, and detailed objects. This is a perfect choice if your AR project involves highly realistic or intricate details.
3. Modeling Your Object
Once you’ve chosen the software, it’s time to build your 3D model. The steps typically include:
Low-Poly Modeling
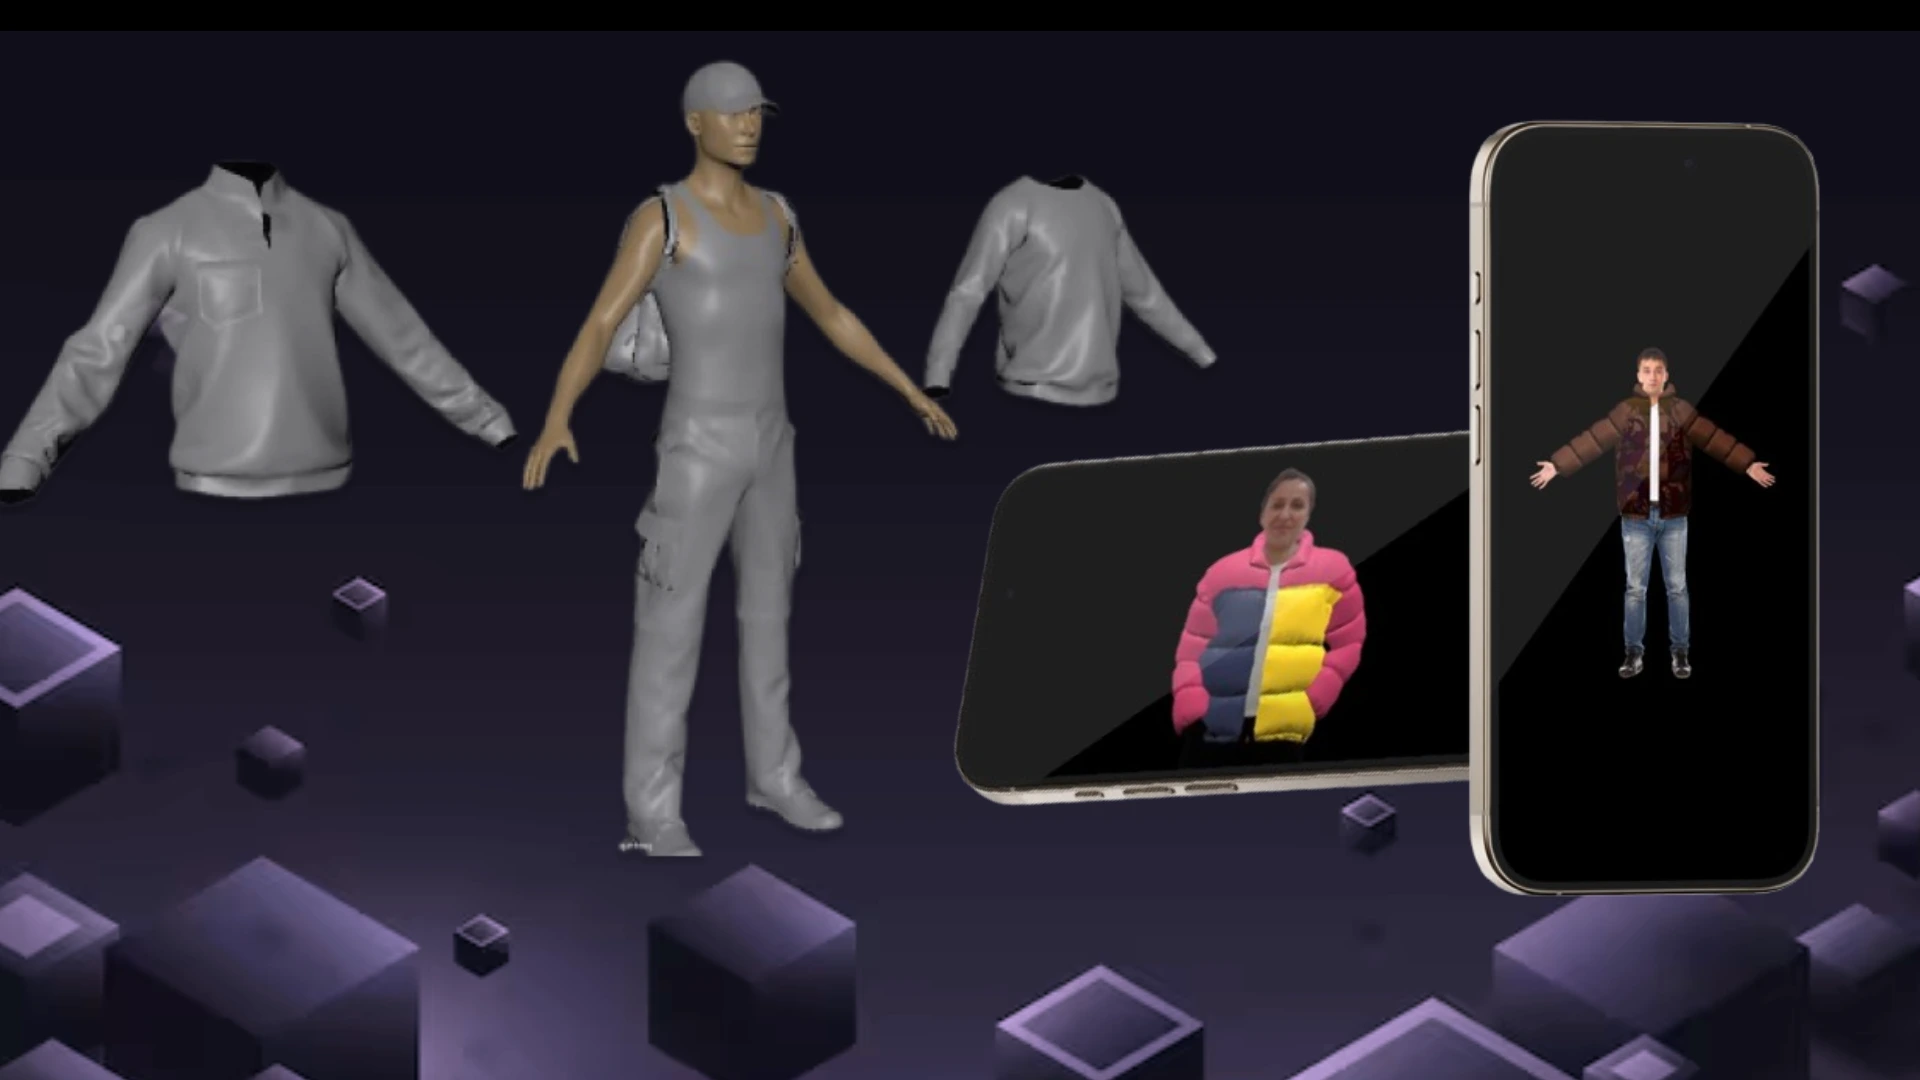
For AR applications, it’s essential to create low-poly models. Low-poly means fewer polygons (faces) that make up the object, which ensures better performance on mobile and web platforms, where most AR experiences take place. Keep the polygon count low but ensure that the shape of the object is recognizable.
Retopology
If you start with a high-poly model (for example, when using ZBrush), you may need to reduce the number of polygons through a process called retopology. Most 3D modeling software offers automatic retopology tools to help simplify complex models without sacrificing too much detail.
Texturing and Materials
Textures bring your 3D model to life. Use high-quality textures and maps (diffuse, normal, roughness, metallic) to ensure that your model appears realistic in various lighting conditions. Tools like Substance Painter allow you to paint textures directly onto your model and then export optimized versions for AR use.
4. Optimizing for AR Platforms
When designing for AR, performance is key. Your 3D models need to be optimized to run smoothly on a variety of devices without compromising too much on quality. Some important aspects of optimization include:
File Size
Ensure that the file size of your 3D model is small. Most AR platforms prefer models under 10MB to ensure quick loading times. Simplifying your model and reducing texture sizes can help achieve this.
Format Compatibility
Different AR platforms have their preferred 3D model formats. Some of the most commonly used formats include:
- GLB/GLTF: Optimized for AR and VR, this is the most popular format for web-based AR experiences.
- USDZ: Developed by Apple, this format is used for AR on iOS devices.
- FBX: Often used in gaming engines like Unity, it’s versatile and supports animations as well.
Level of Detail (LOD)
Implementing multiple levels of detail (LOD) allows AR applications to dynamically switch between high and low detail models depending on the user’s distance from the object. This improves performance without sacrificing visual quality up close.
Conclusion
Creating 3D models for AR involves a balance of creativity and technical know-how. From conceptualization to optimization, each step is crucial in ensuring that your 3D models look and perform well in AR environments. Whether you’re using Blender for free or investing in professional tools like Maya, the key is to keep your models lightweight, visually appealing, and compatible with your intended platform. With these strategies in mind, you’ll be well on your way to creating immersive, high-quality AR experiences.
Schedule a personalized demo and see how you can offer virtual try on experience for your customers.
Related Post
Recent Posts
- What Tools Can Help Enhance the Ecommerce Shopping Experience?
- Camweara Q4 2025 Innovations: AI-Powered Virtual Try On, Find My Size
- Types of Virtual Try On Experiences Transforming Online Shopping
- Which brands are leading in virtual try-on solutions for fashion?
- Why Eyewear Brands Choose Camweara Over Traditional Virtual Try-On Tools


